Step 1: making a plywood design
New plotter mount
1 July 2022
Designing and making it ourselves!
July 2022
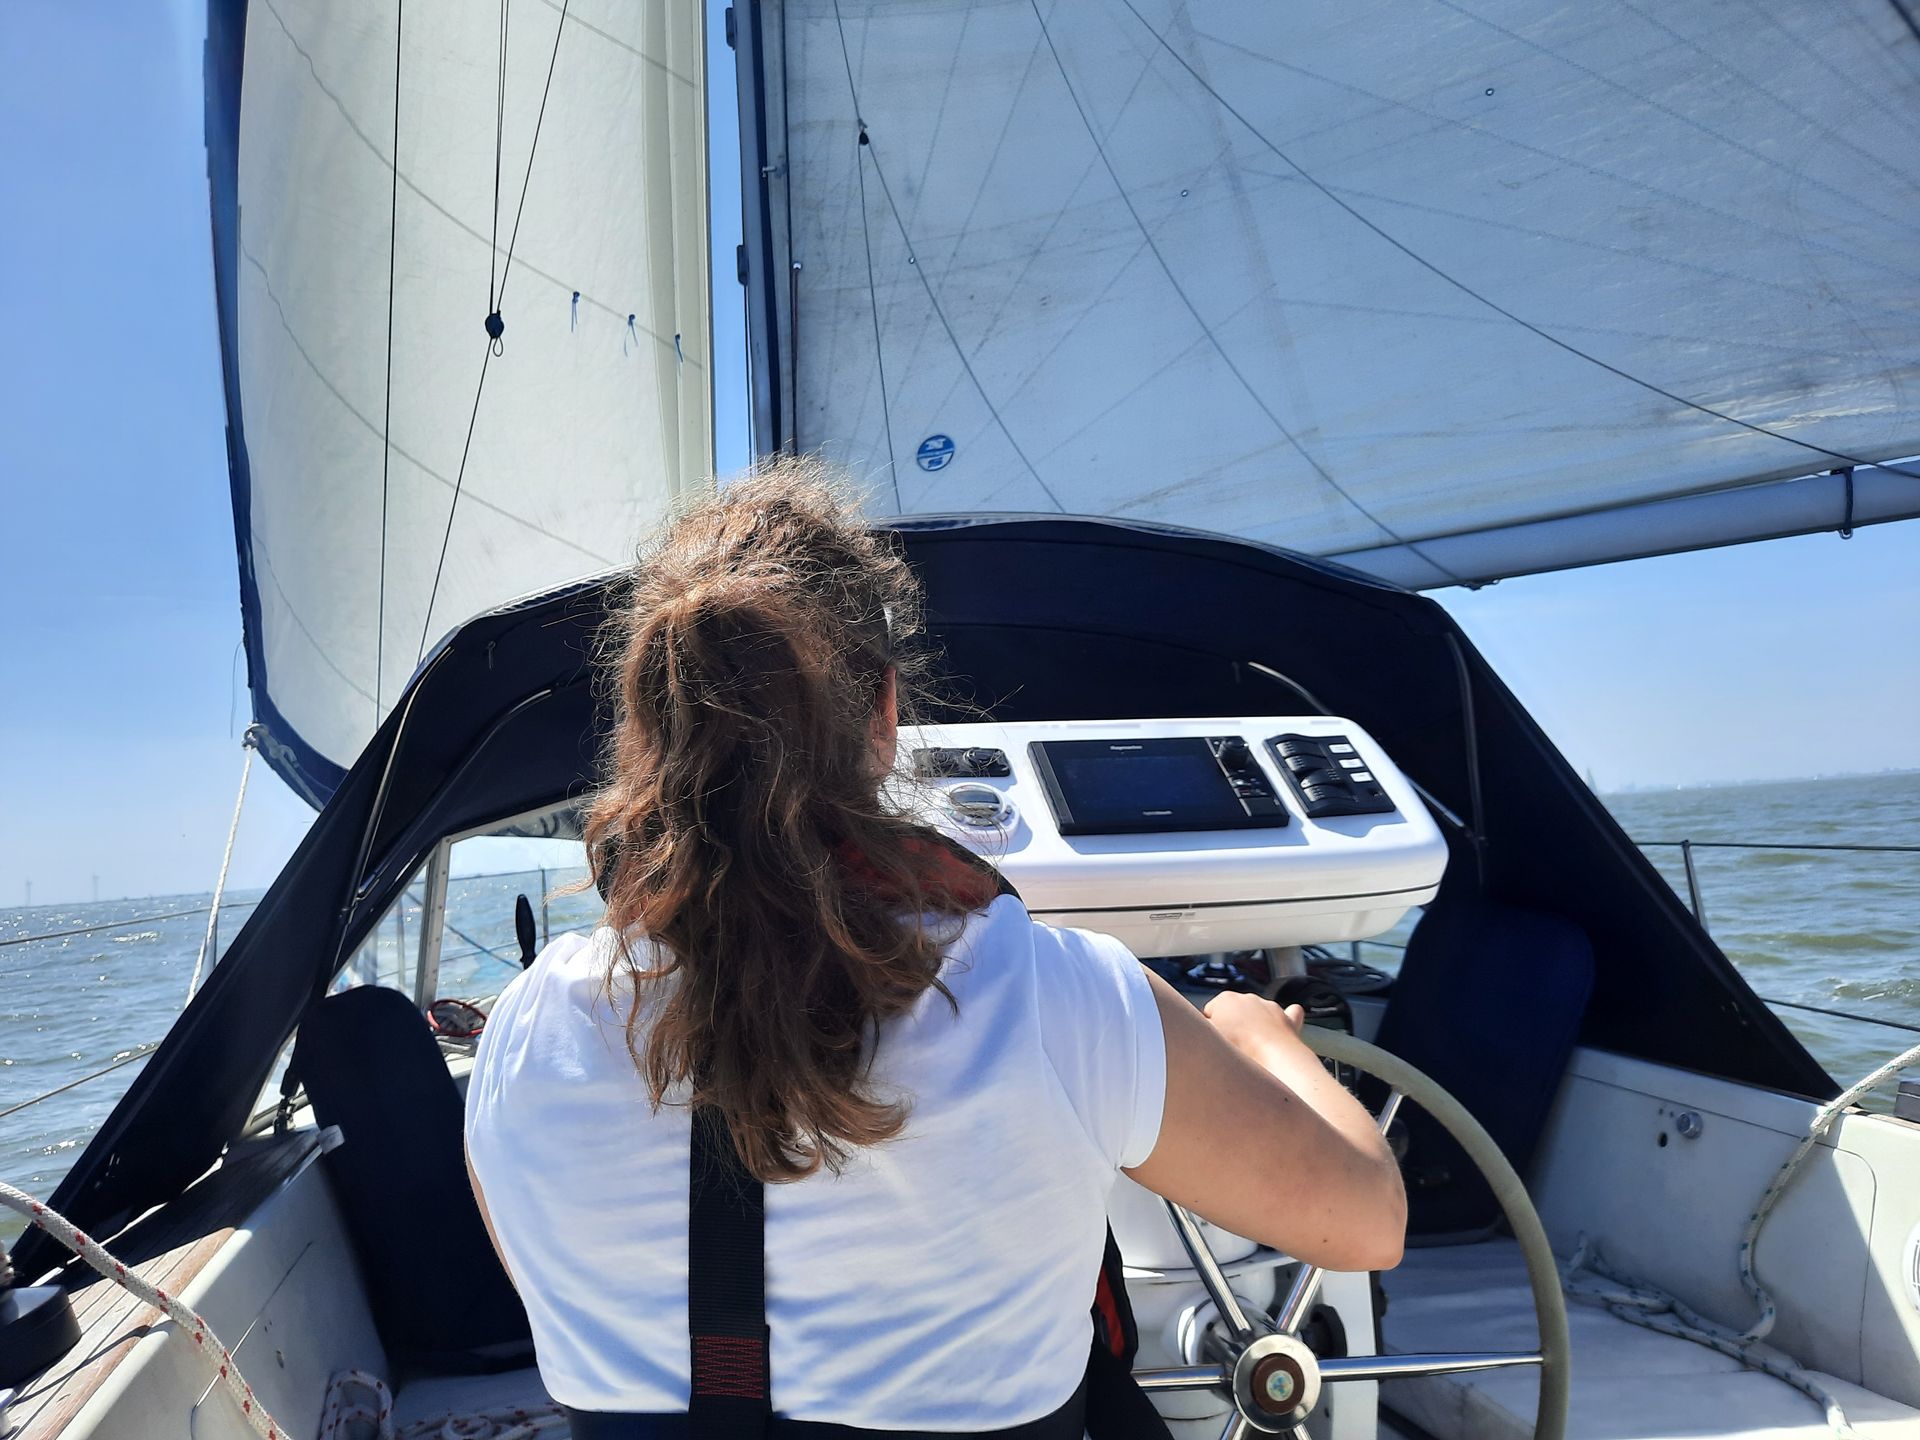
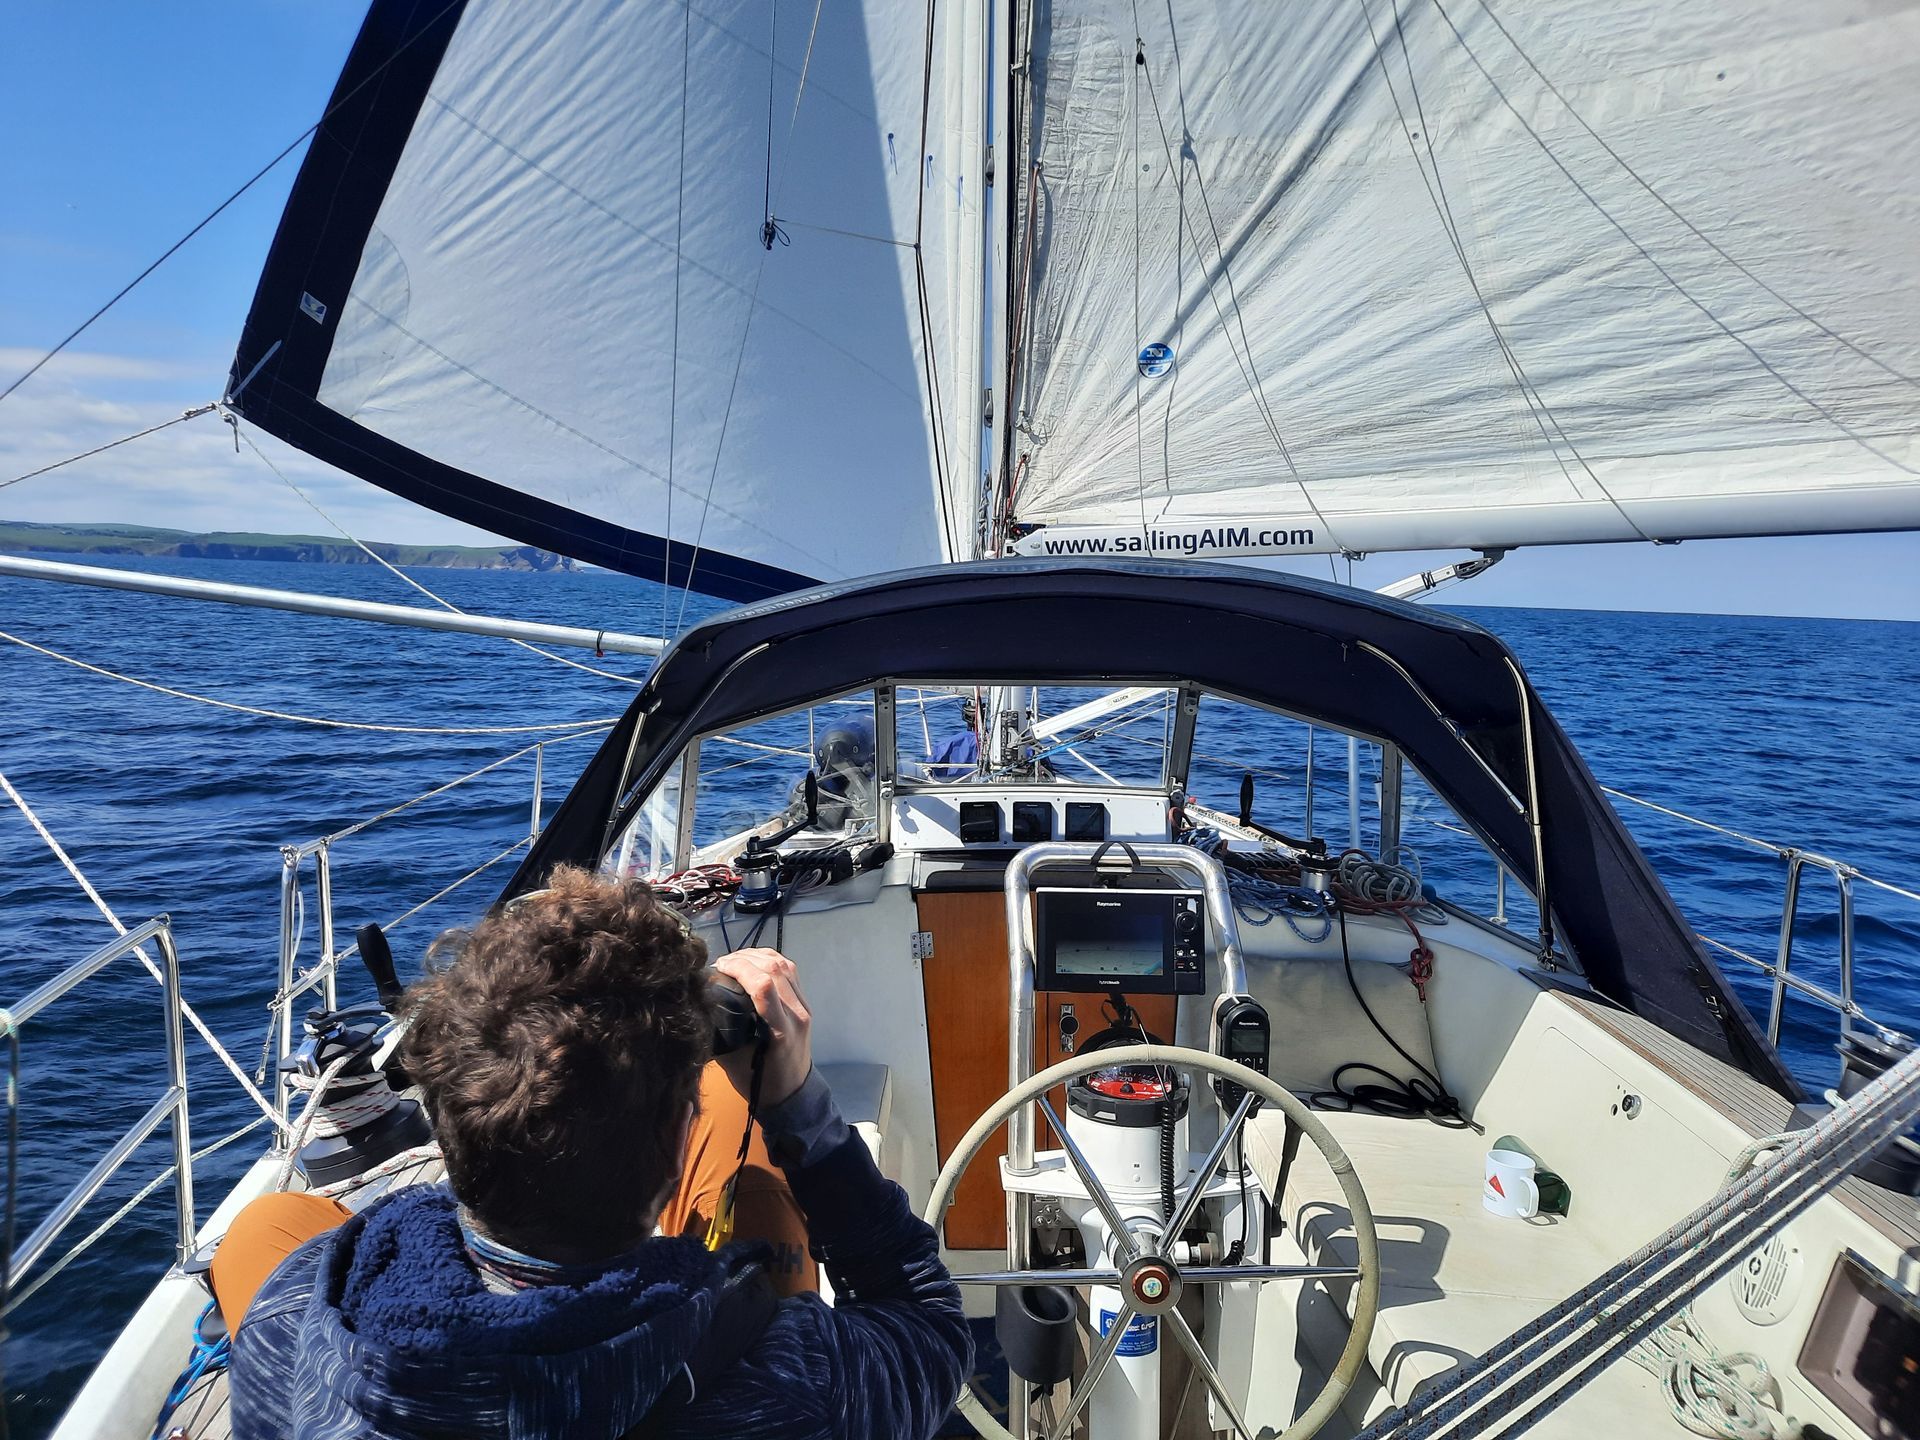


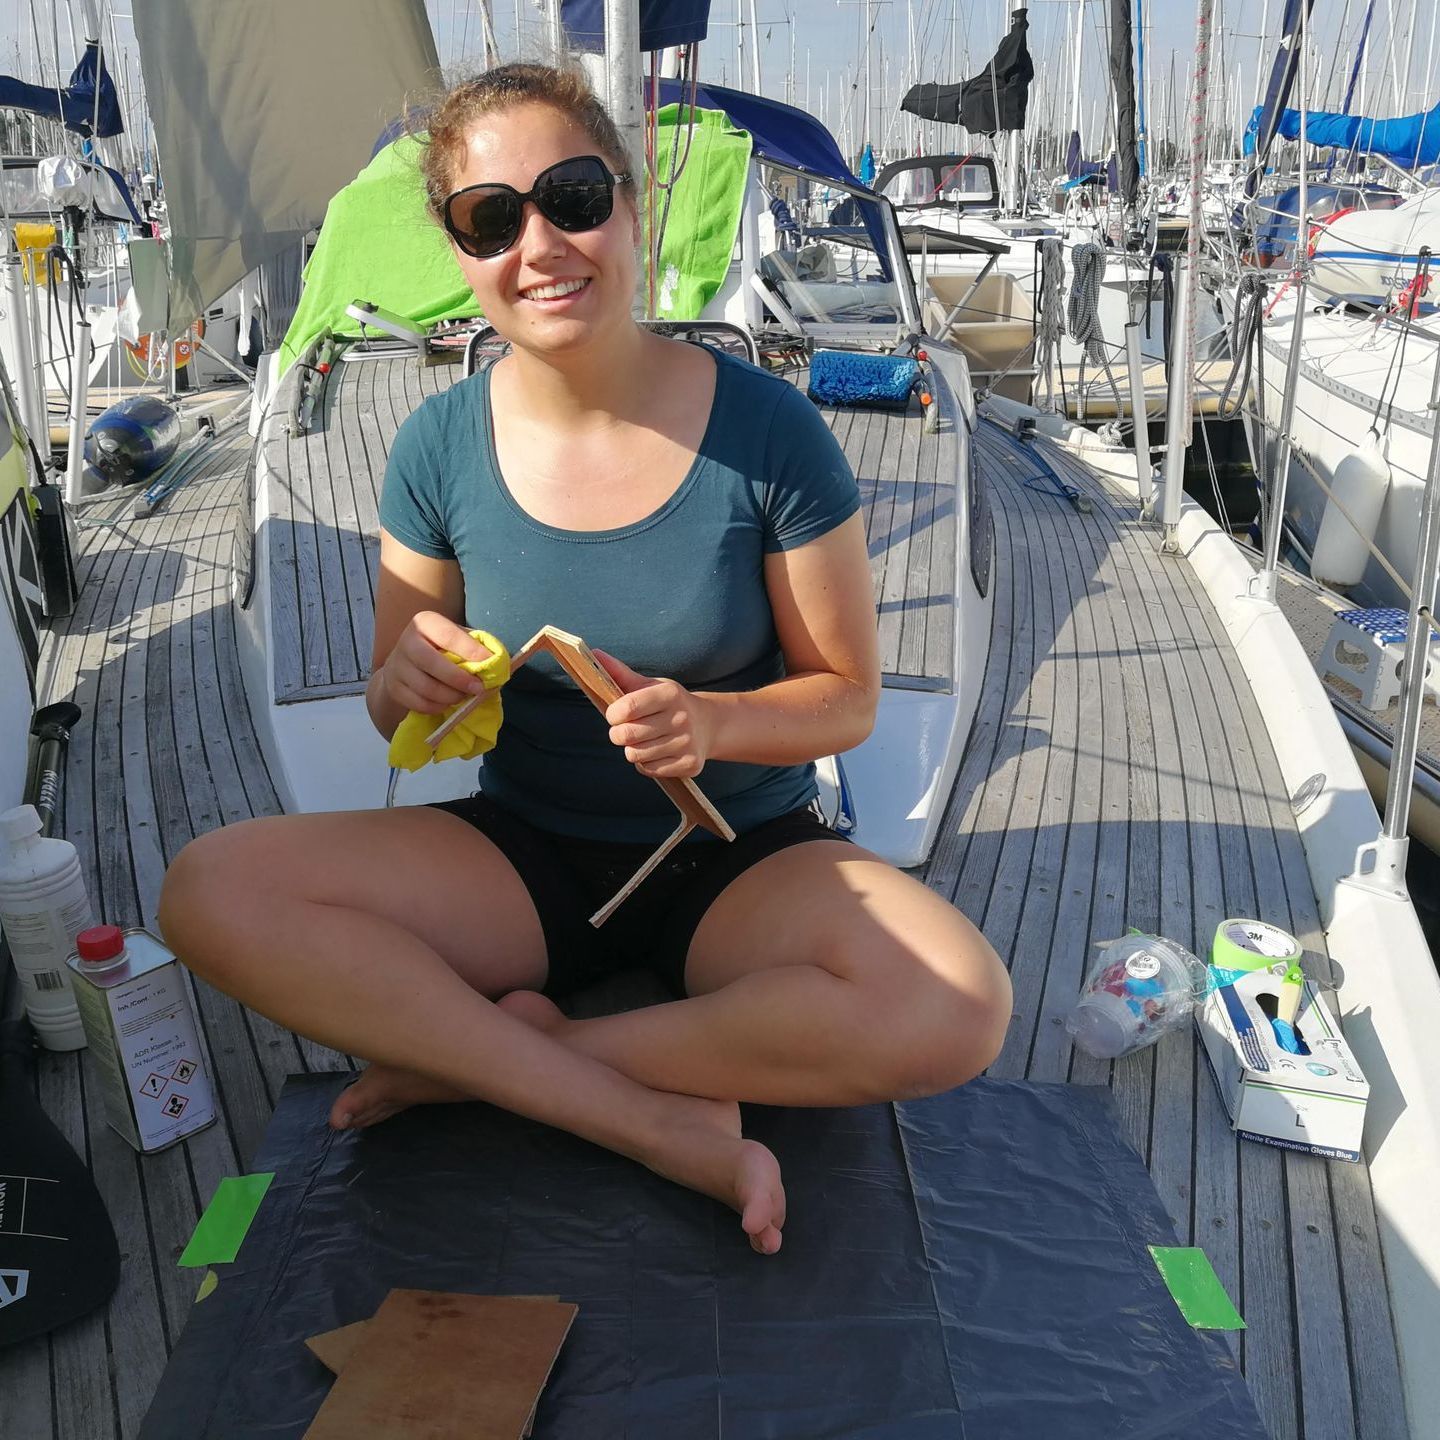
Step 1: making a plywood design
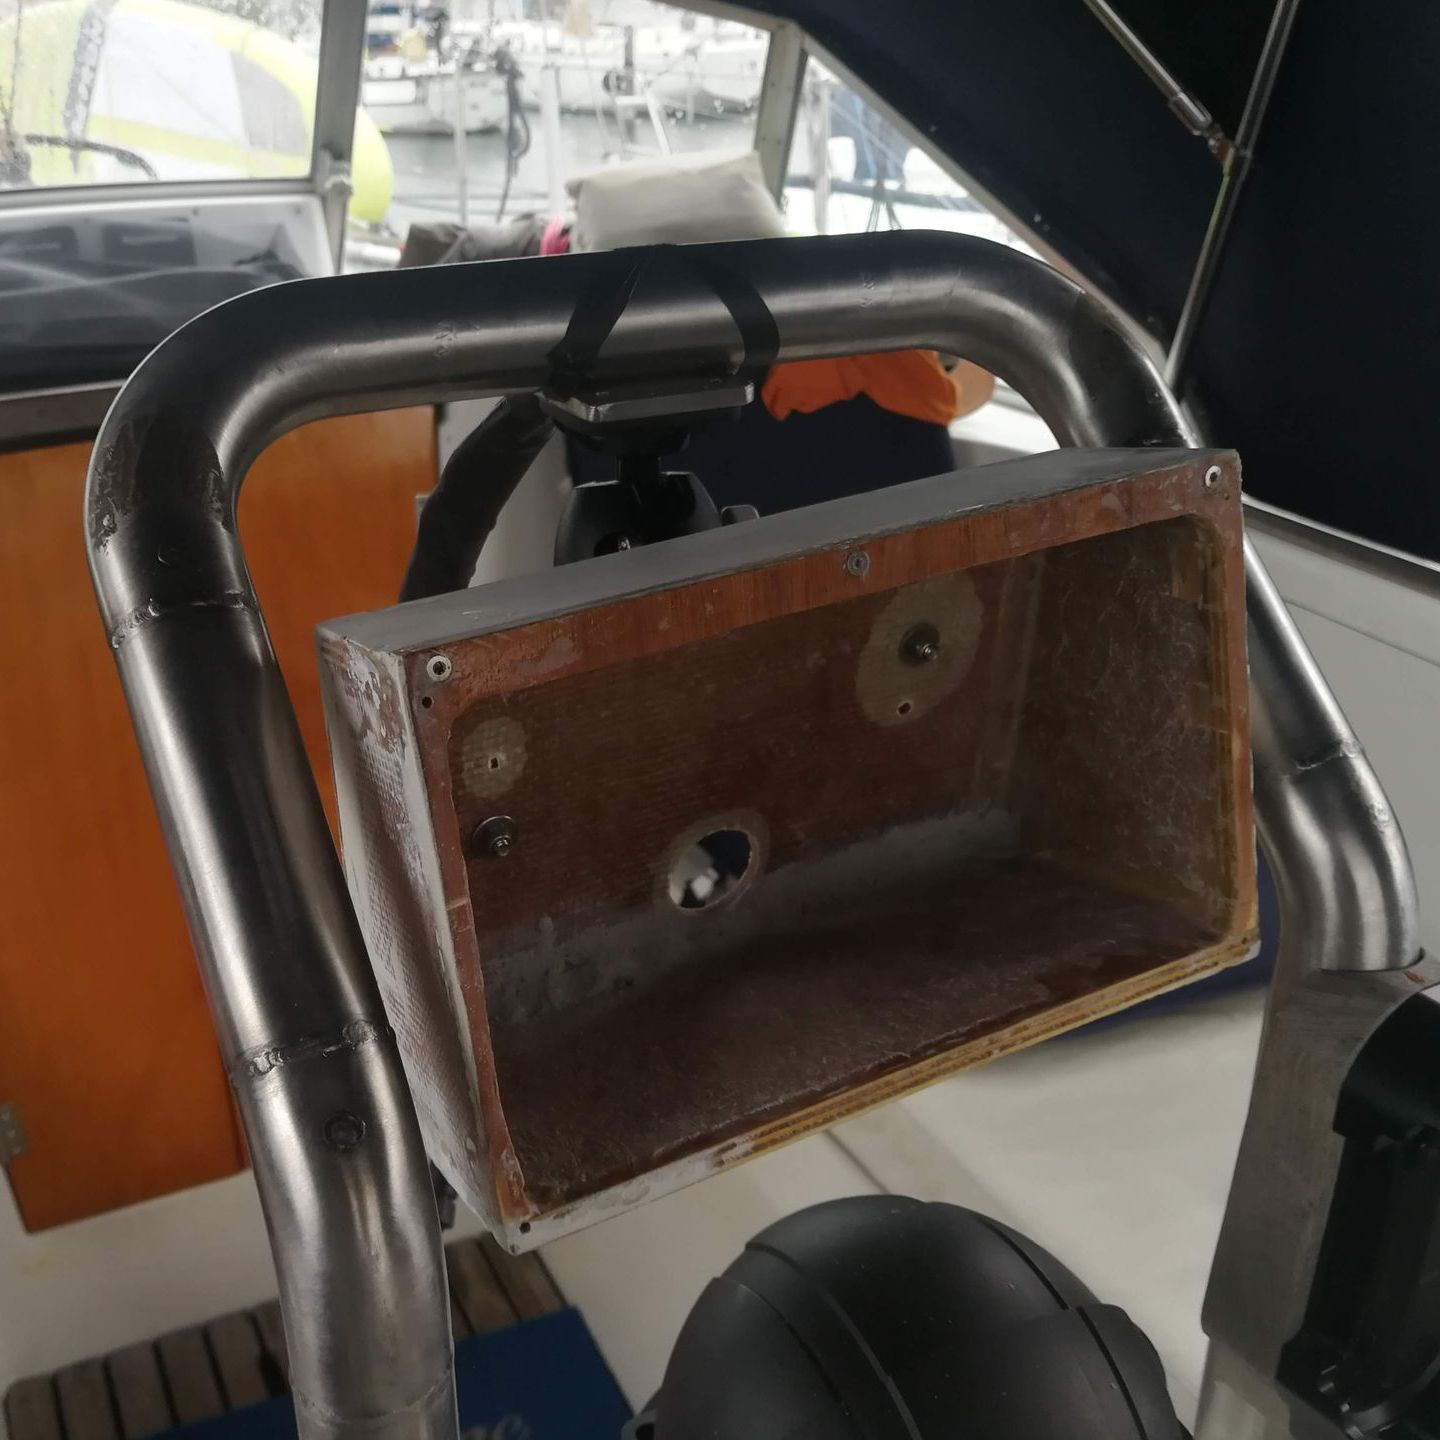
Step 2: test fitting the plywood design
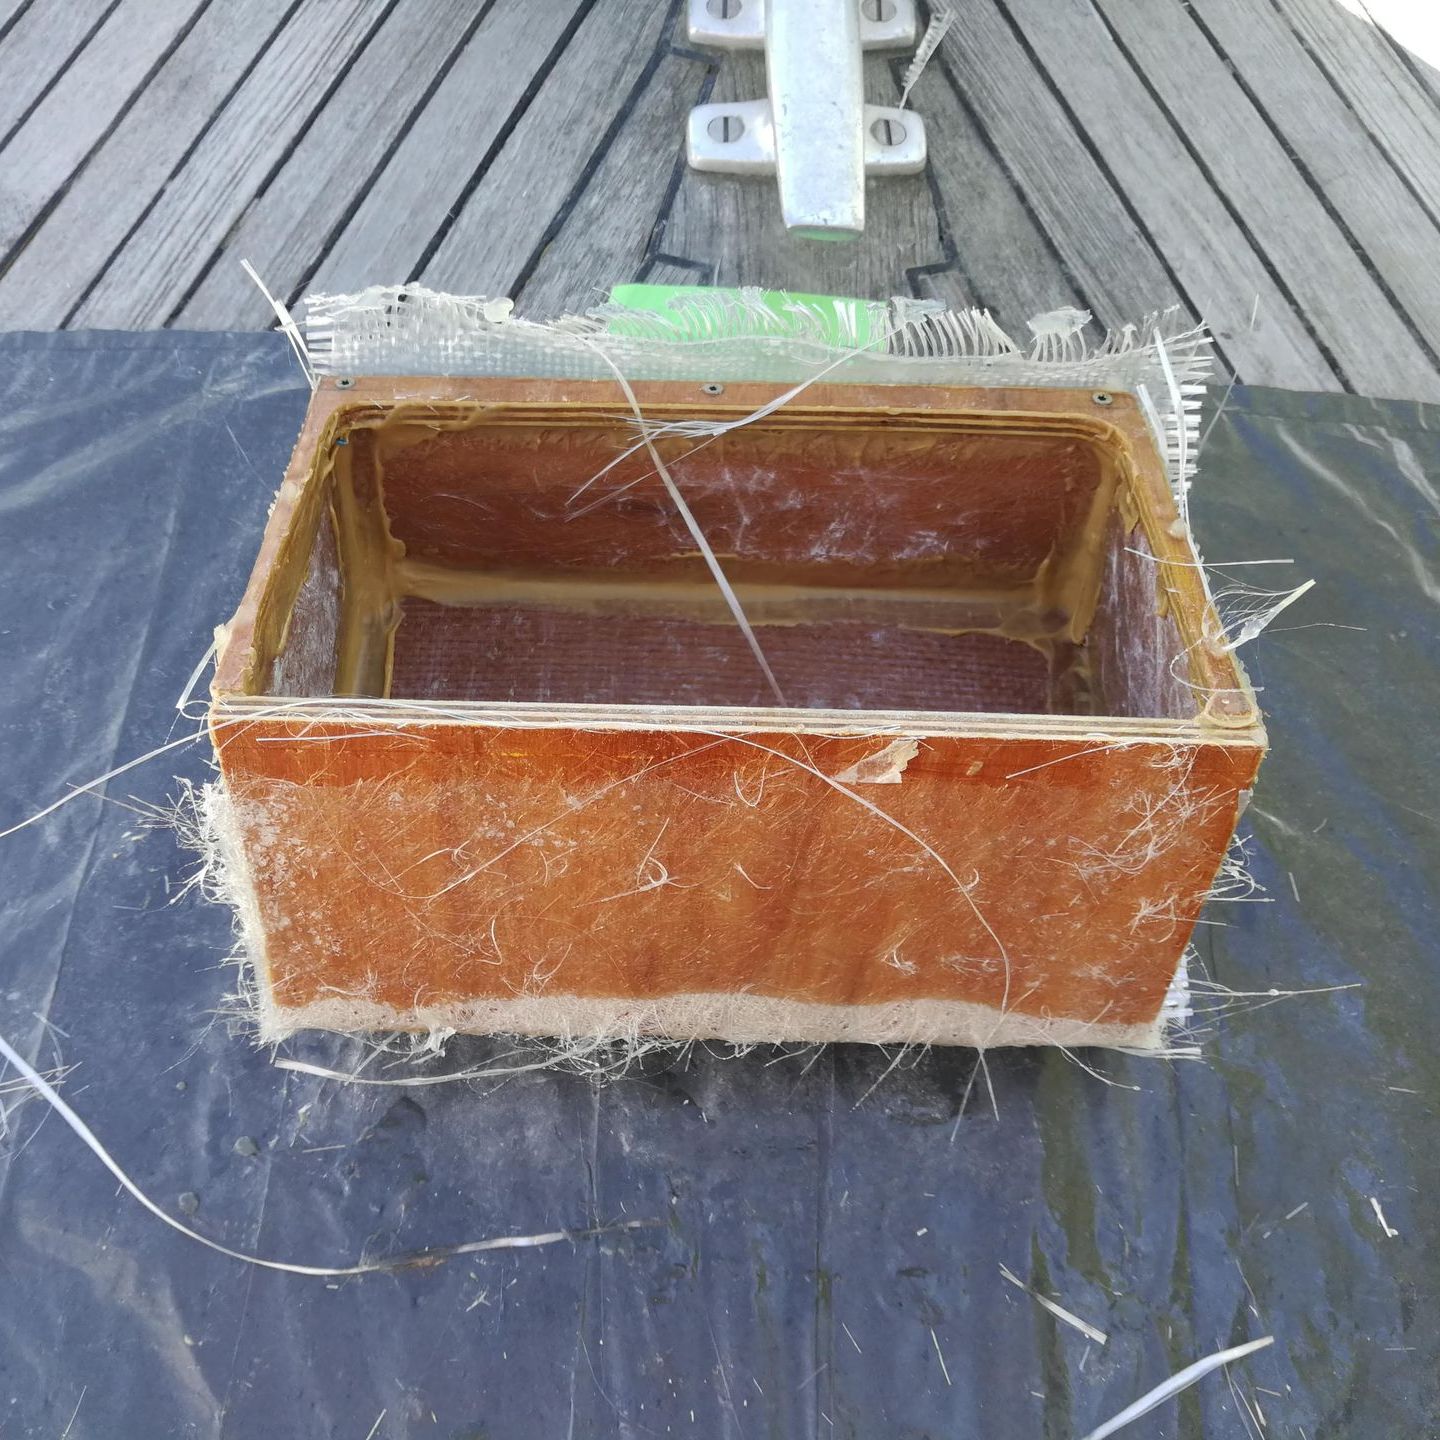
Step 3: using fibreglass to make the plotter mount watertight and strong
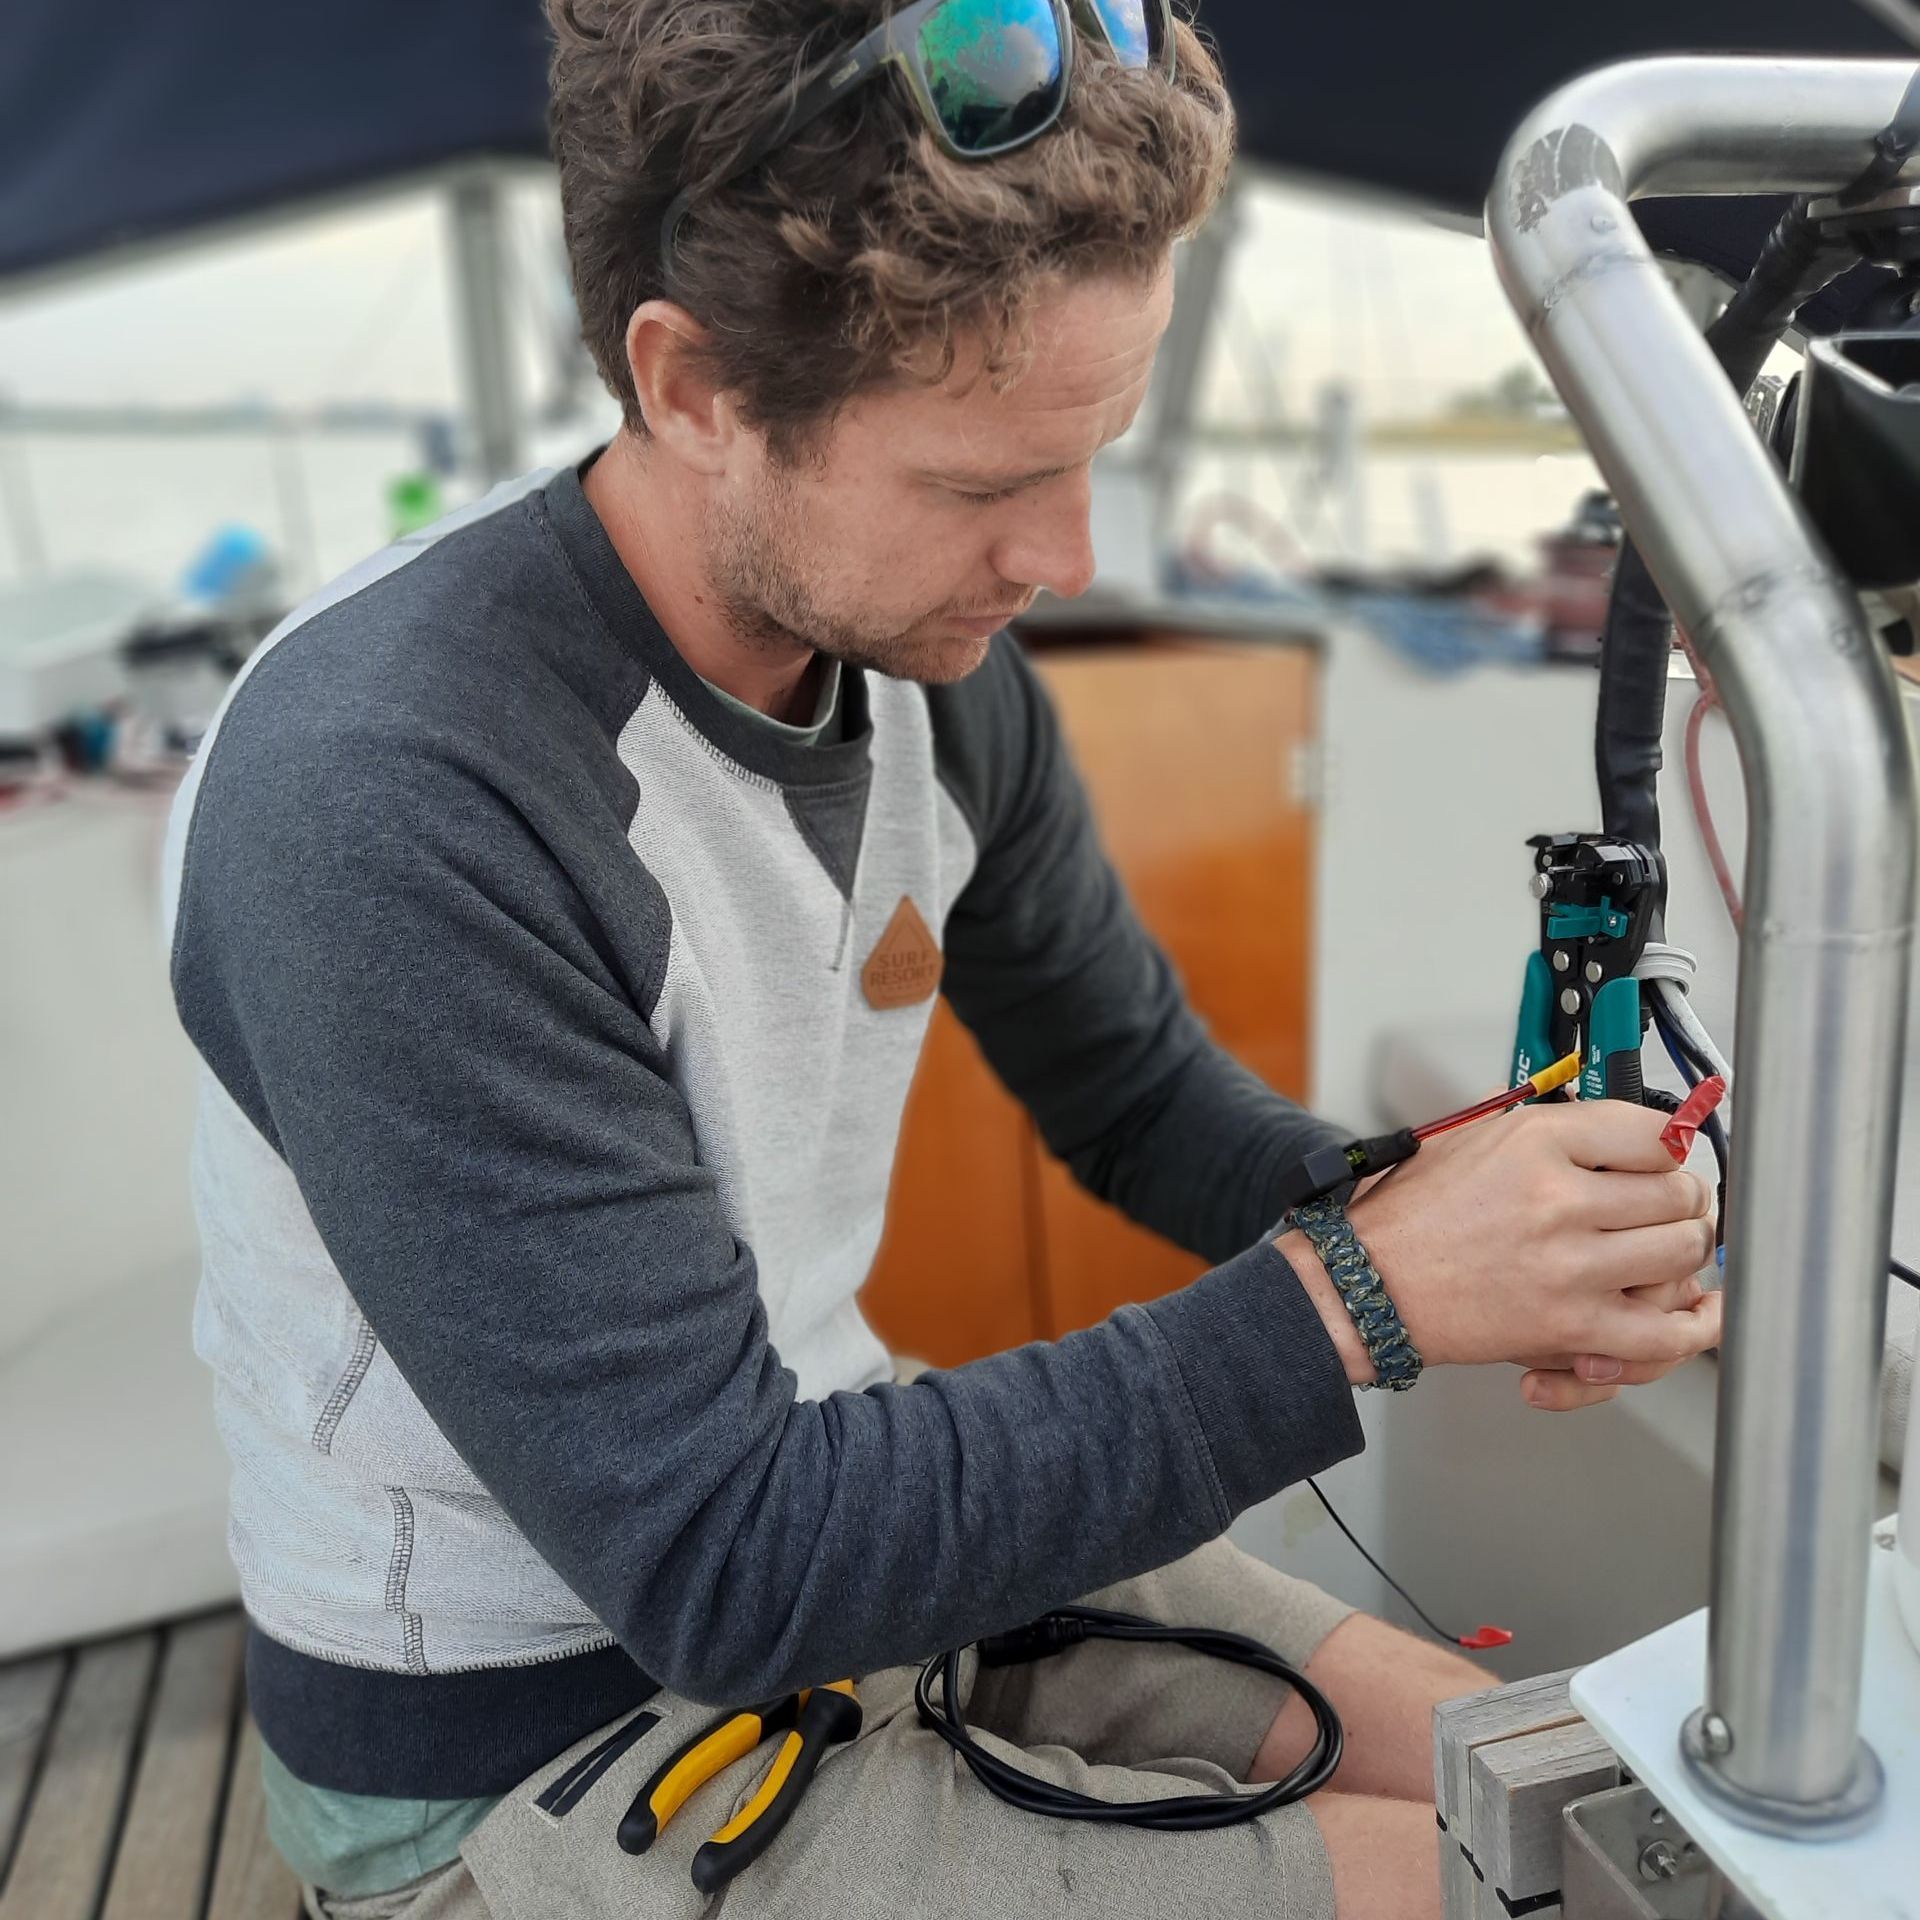
Step 4: installing all the wires for the plotter
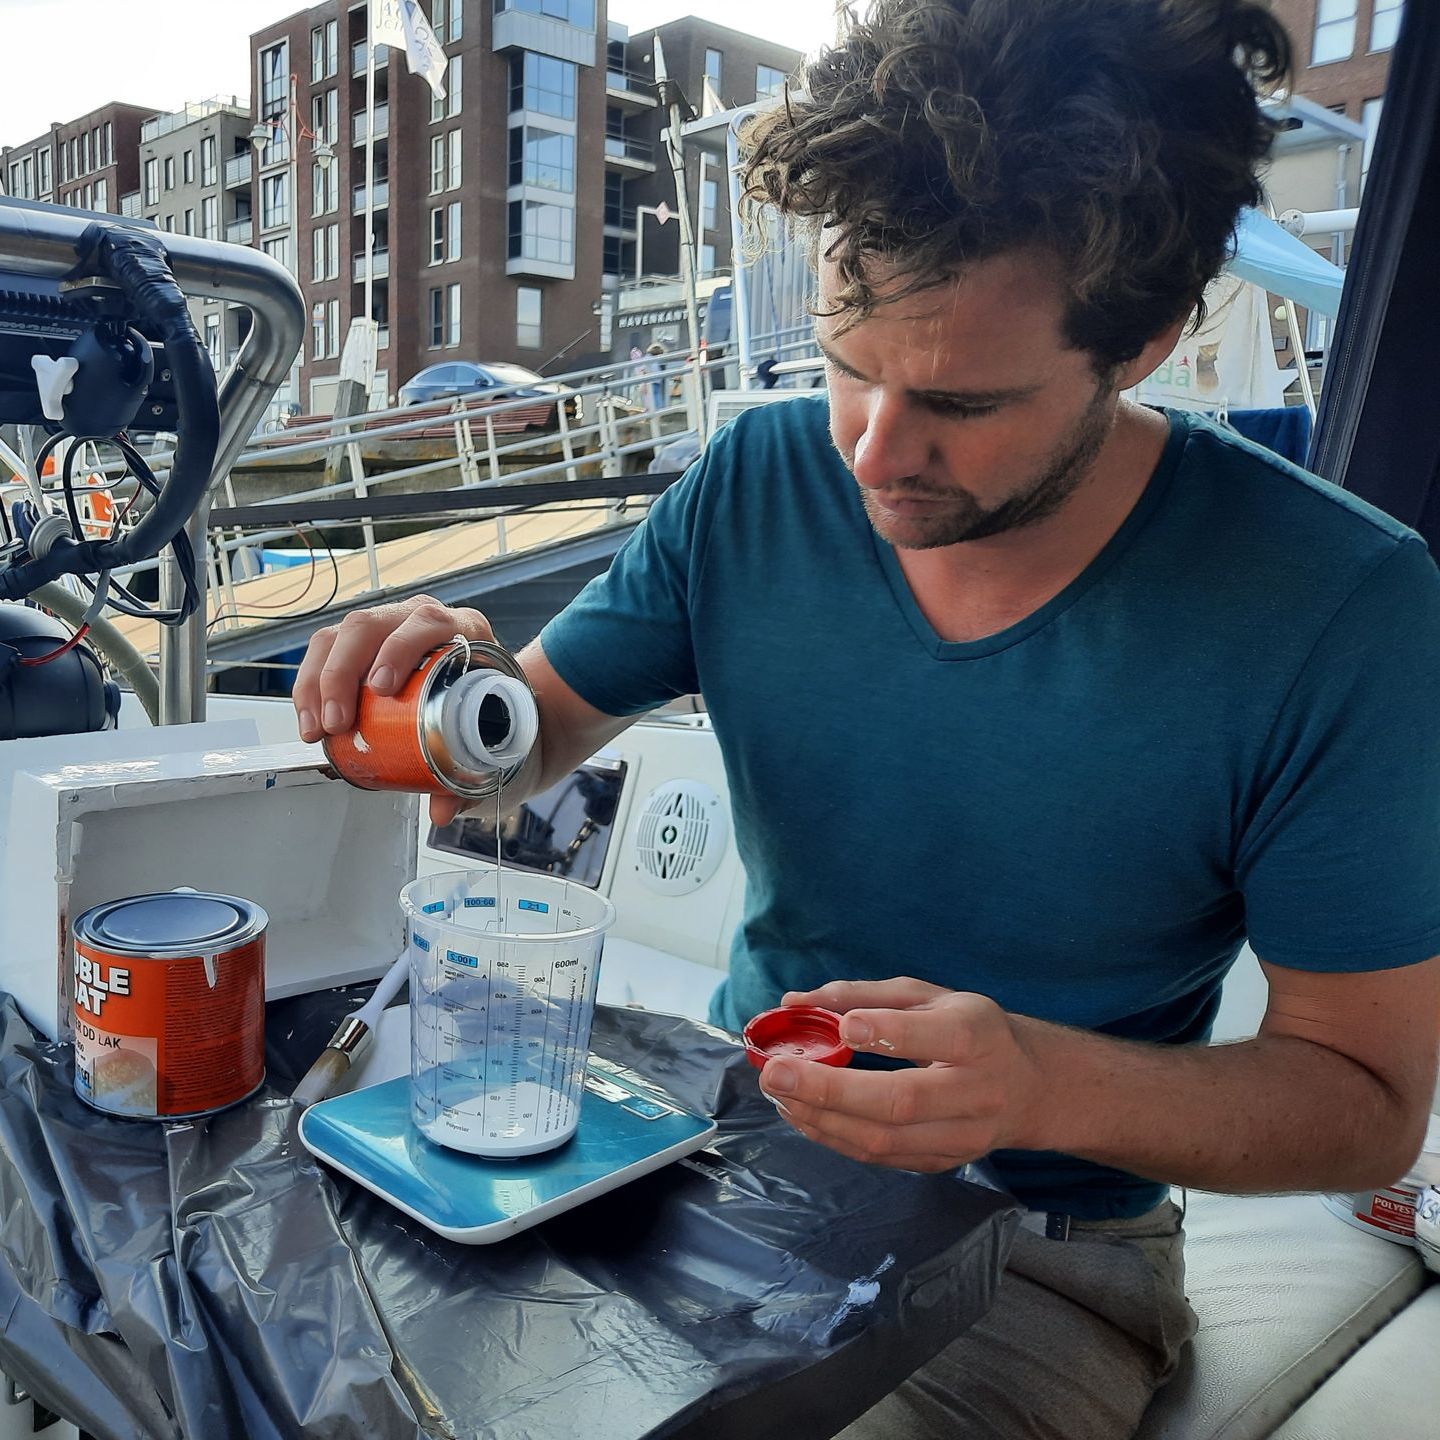
Step 5: painting the plotter mount white, with a 2 component paint
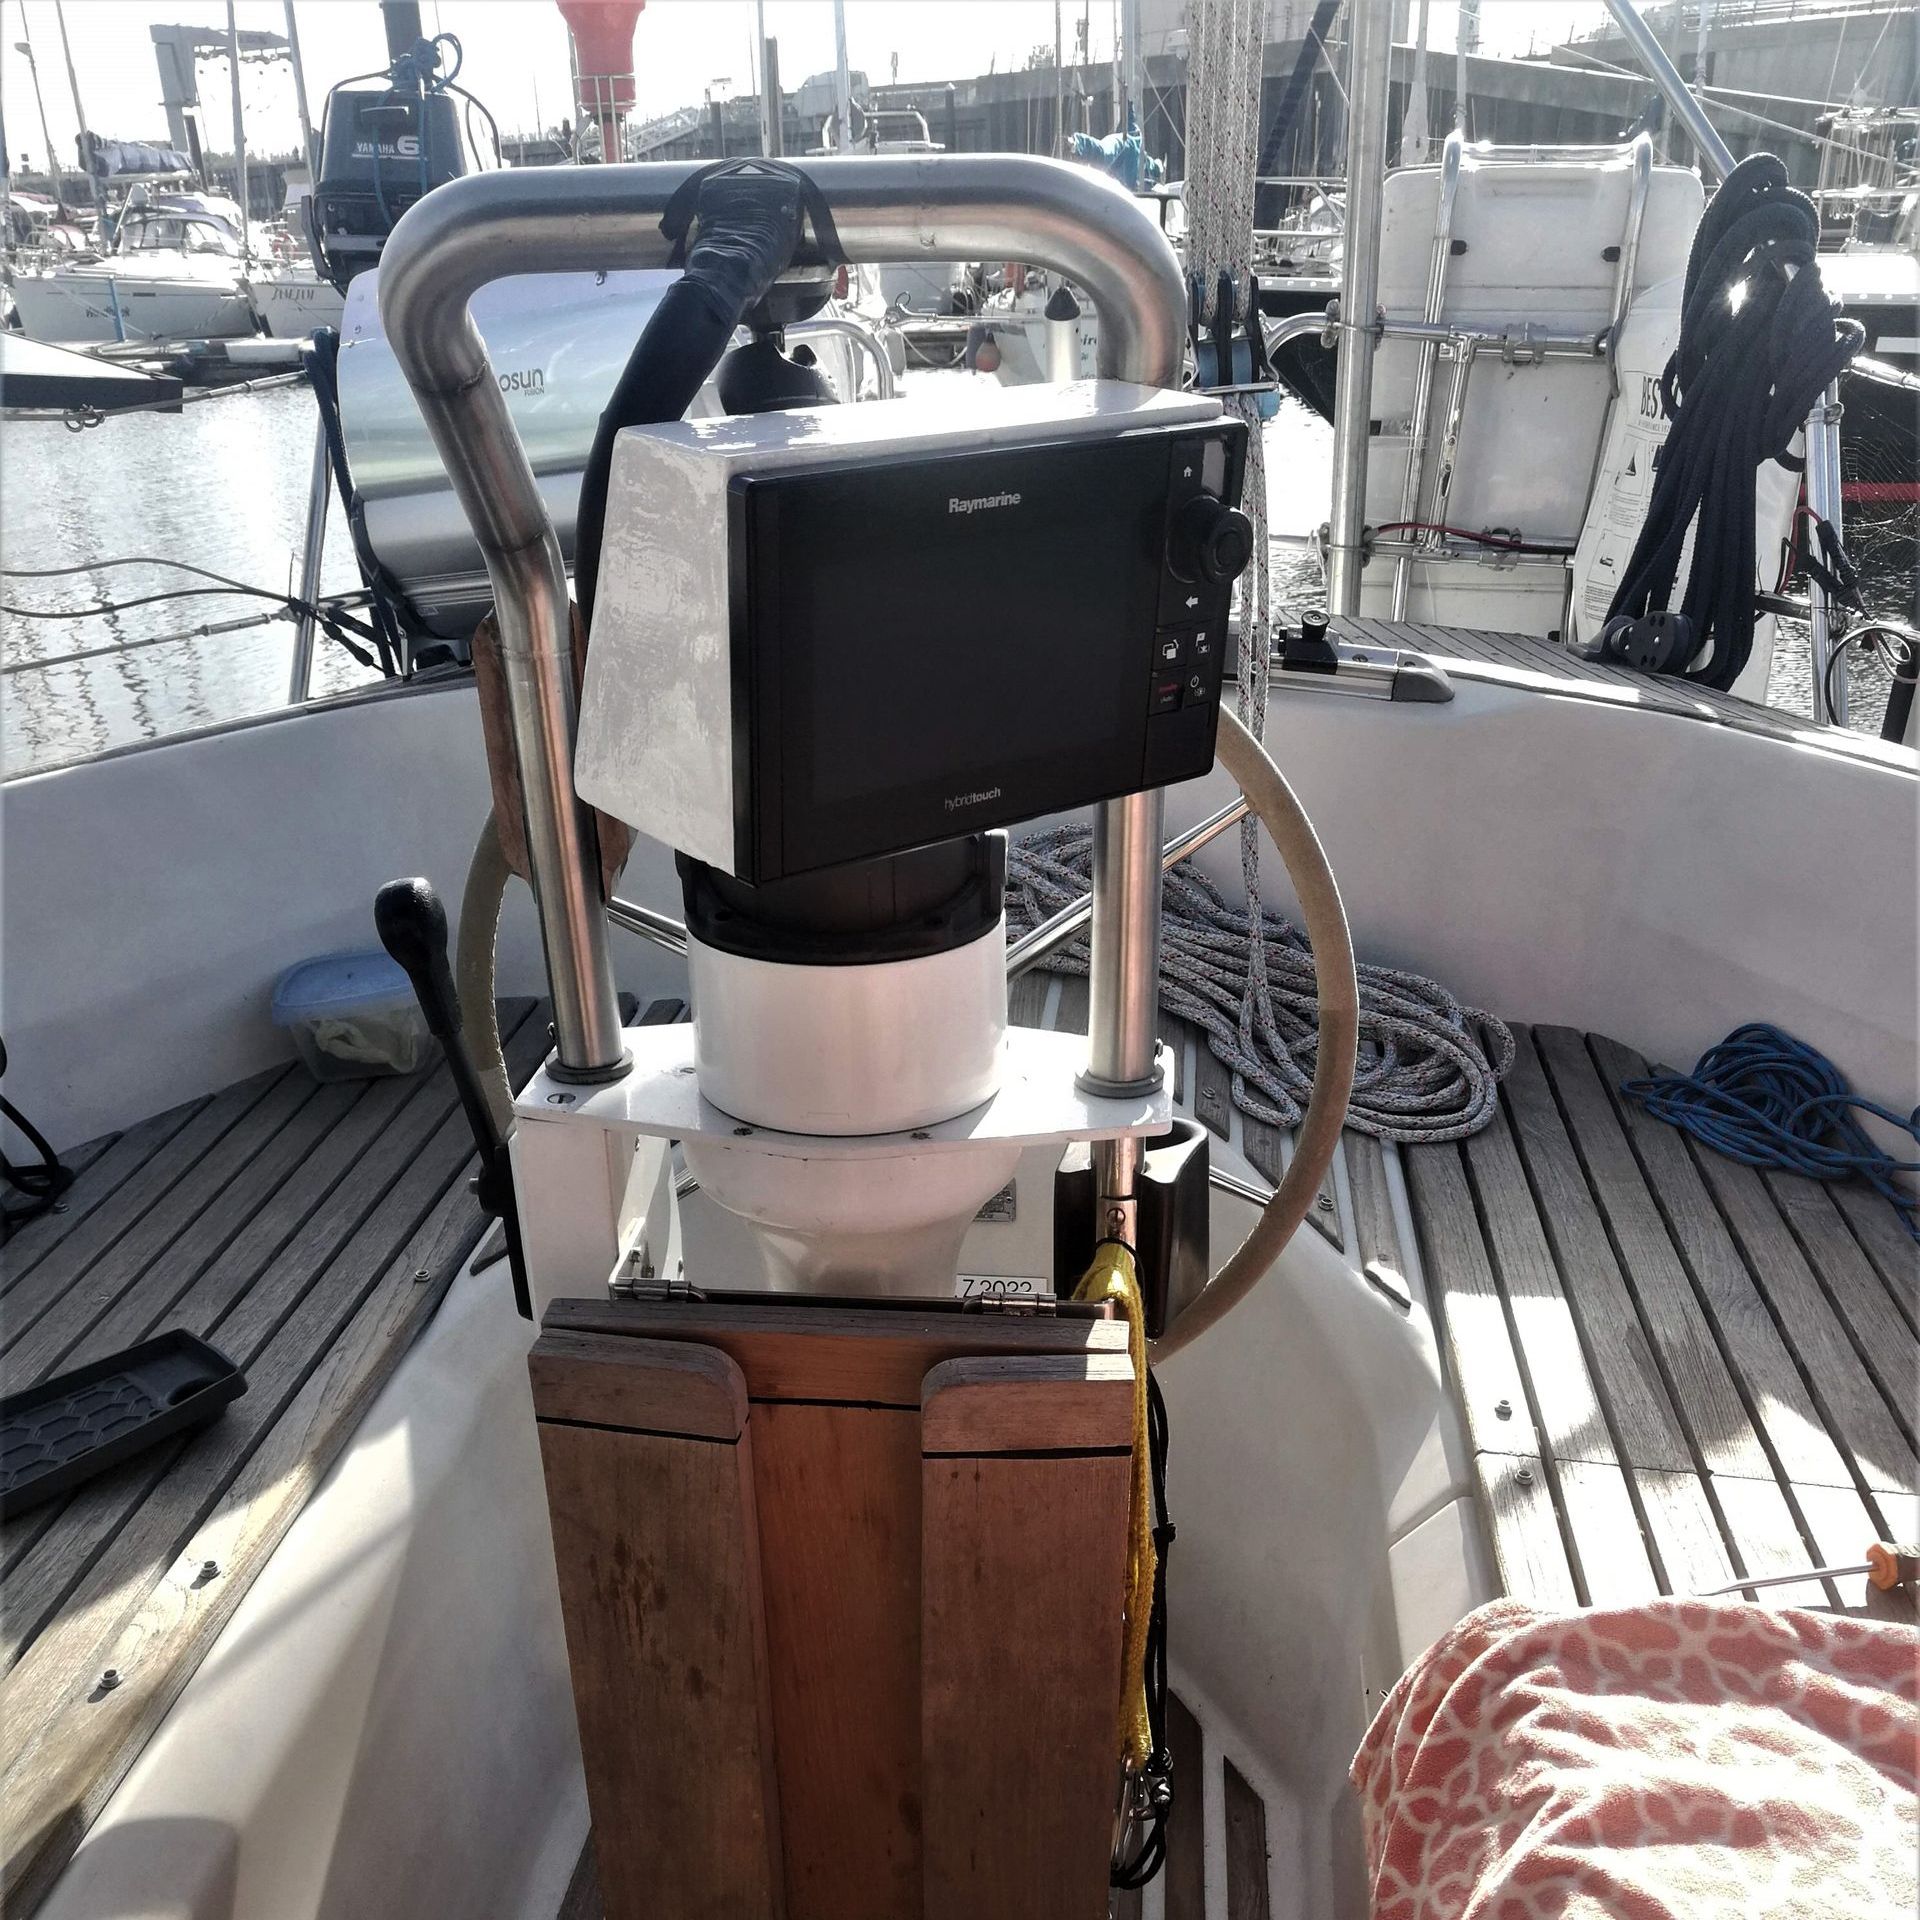
Step 6: the end result! What a difference, the old one was WAY to big, so we are very happy with more space in the cockpit! With the Scanstrut swivel we can check the plotter from every part of the cockpit.